Miscellaneous Projects
(Back to Home)
(Click Here for a Printable version of this page)
|
Winter Project January 2013 - Electric ATV A long overdue project is the Electric ATV I promised my oldest son in 2010. 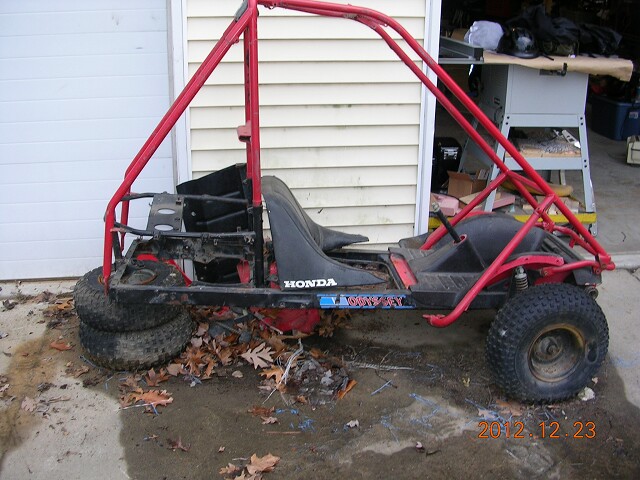 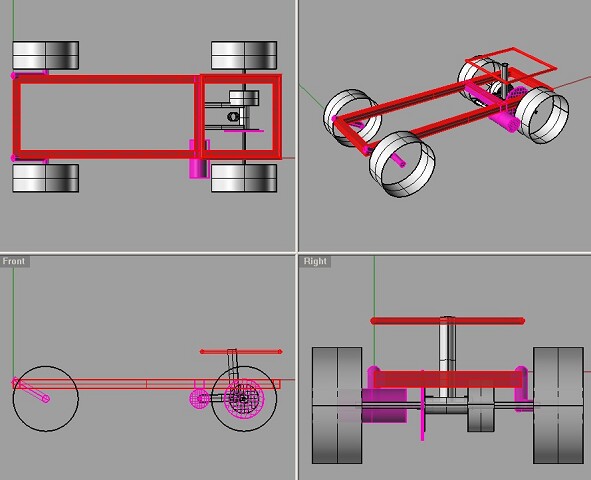 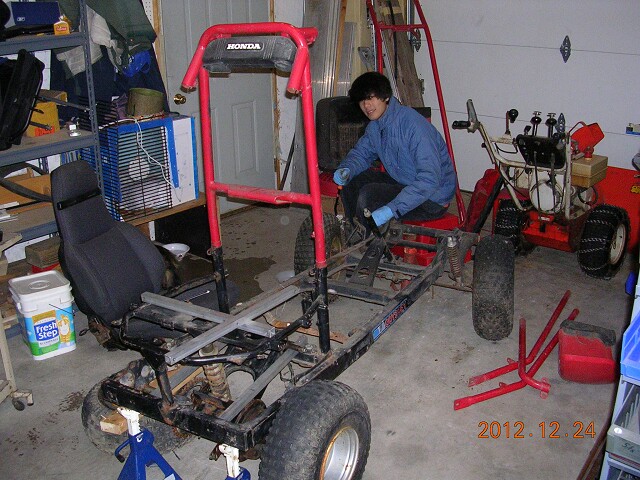 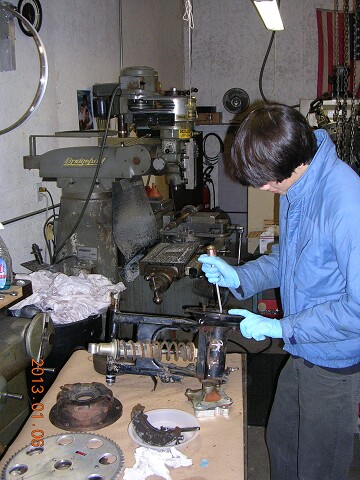 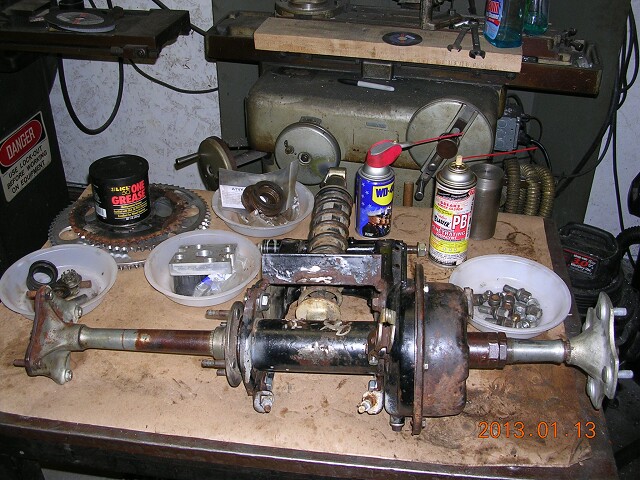 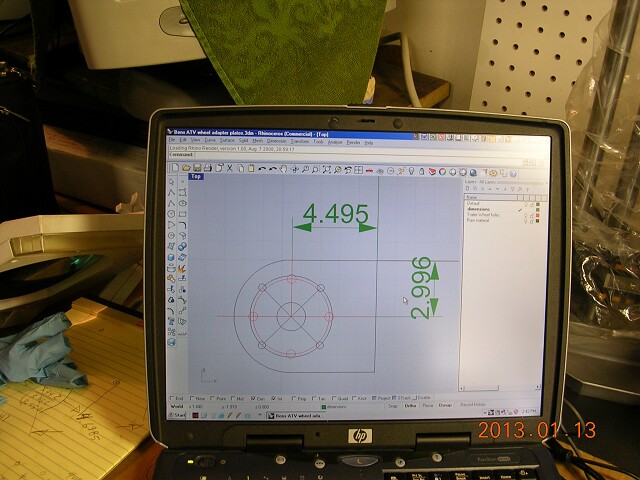 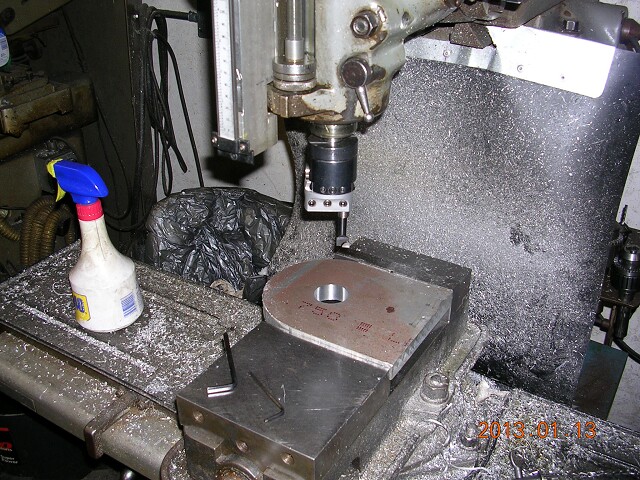 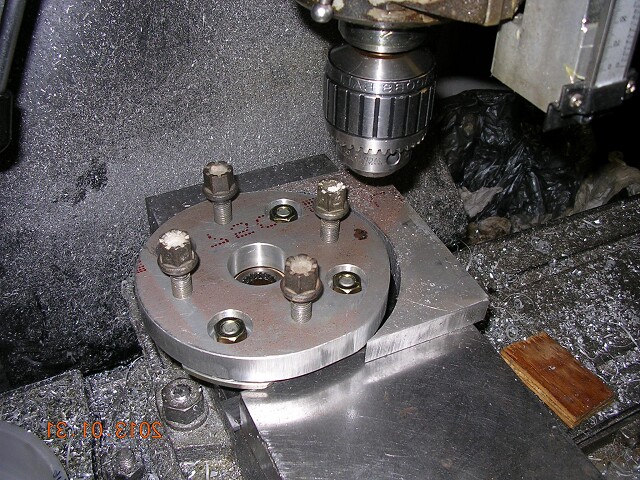 |
|
Winter Project January 2013 - Long Wheelbase Electric Bicycle Another long overdue project is the practical electric bicycle to be built with my youngest son. 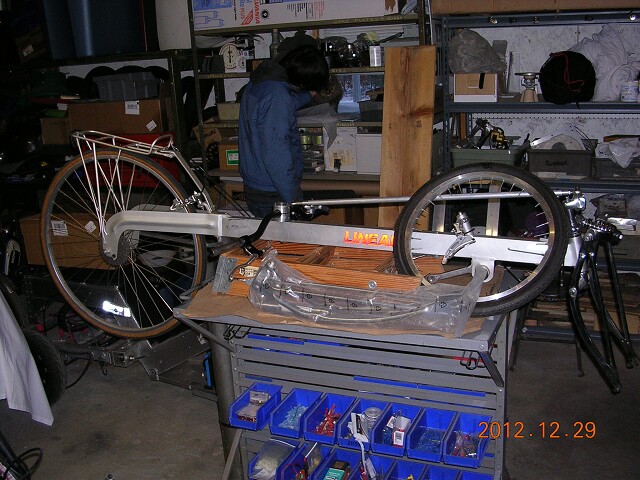 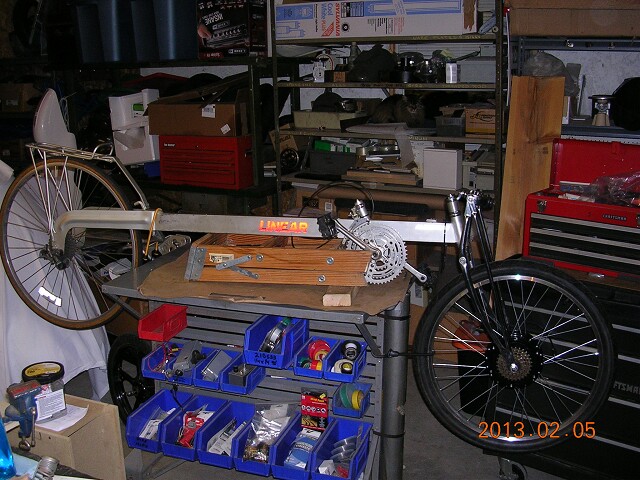  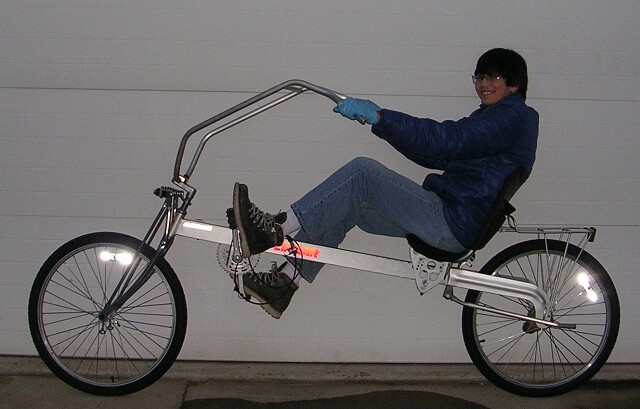 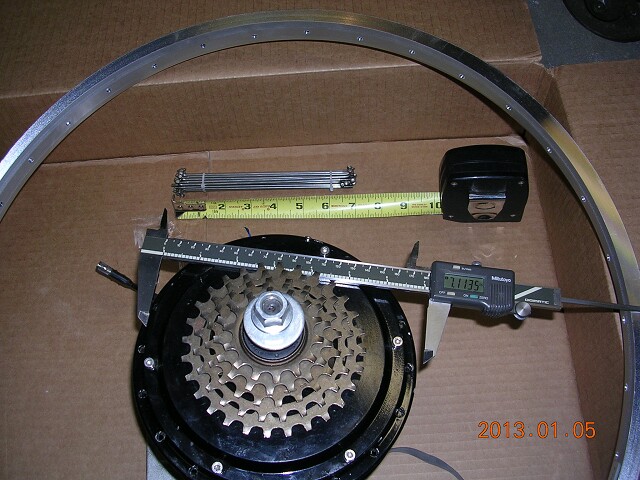 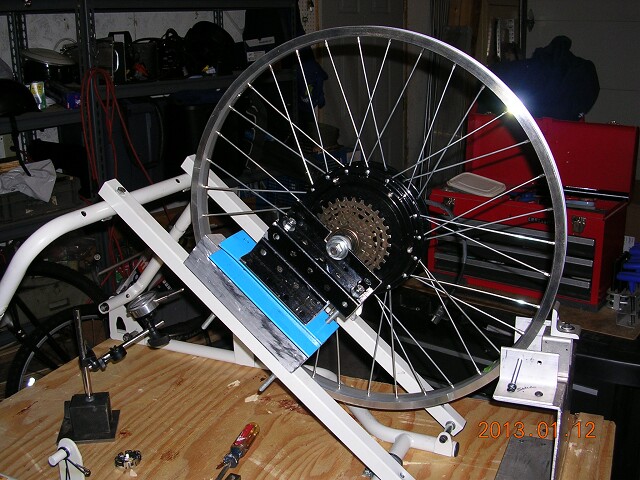 Kraig took the Linear out for a 6 mile spin after at least 7 years out of service...it's so much more comfortable and enjoyable that an upright!Ā ĀNick wanted upright handlebars because it looks cooler (Kraig agrees it looks cooler), but eventually I'm sure we'll go back to underseat steering because it's so much more comfortable. Nick was really unstable on his first ride, I had forgotten that it takes some practice to learn how to ride the Linear.Ā We'll get him to a parking lot so he can get it down before putting him on the street.Ā On this note, I think it's easier to learn how to ride the Linear with upright handle bars than with underseat steering, so this will be a good evolution for Nick and also give us some more time to work on projects as we modify the bike to make it more comfortable and efficient. It's surprising how much the front suspension fork smooth's out the ride and how much difference 4 inches forward or back with the seat makes for the front suspension - Nicks legs are shorter than Kraigs and so rides with the seat more forward and it makes a huge difference in the dampening. We have a friend who says he'll donate some Lion Batteries, so the project is moving along.Ā With Earth Fair done after this weekend, I'll be able to work on this project some more. We can't wait to get the batteries on board and take this baby for an electric spin! 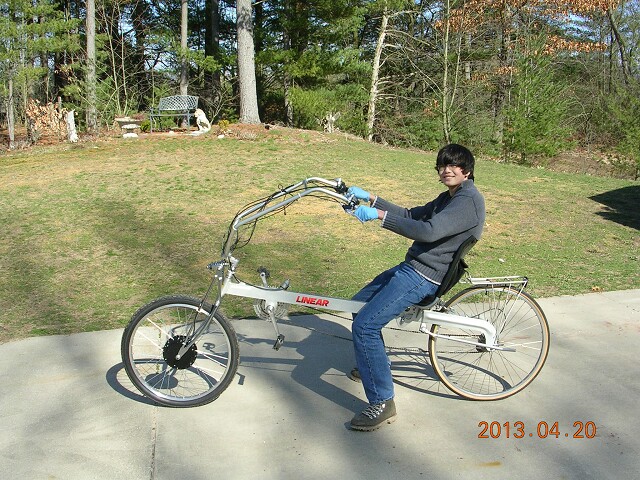 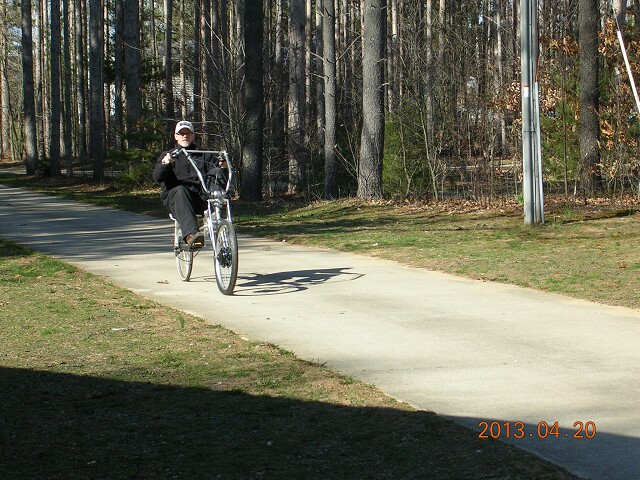 Used batteries donated from a friend on May 4, 2012. They are Elite Power Systems 20ah batteries abused in a 48Volt prototype Trail 70 project. They probably have less than 30 recharge cycles on them, but some very abusive. 3 of the 12 volt modules are holding a charge with each cell at exactly 3.33 volts each. One of the 12 volt modules (4 cells) are at 0 volts. 2 of the 16 balance boards seem dead (no LED light). The cells weigh in at 6.25 # for each 12 volt module for a total of 25# for 48v x 20ah = 960 Wh of power x 70% = 672 Wh / 25 Wh/Mile = 27 mile range. 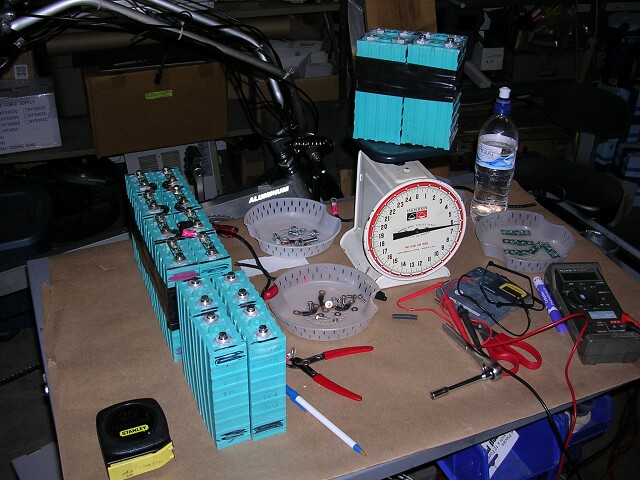 May 5, 2013: Here is recharge station setup outdoors to attempt to slowly bring the dead cells back to life. Using a variable power supply and keeping always under 2.5 amps, voltage was slowly increased to 3.3 volts. The voltage will be held at 3.3 volts until the cell holds a charge.  |
SOLAR FURNACES
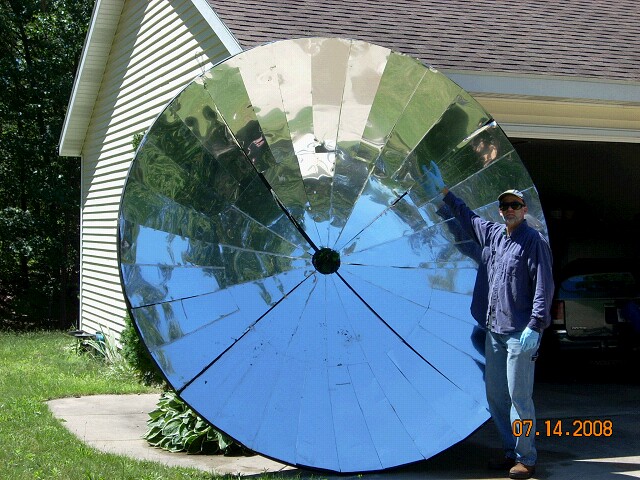
The satellite dish solar furnace shown above causes a wooden two by four to burst into flames in less than 15 seconds. The energy from the noon-time sun is said to be about 1,000 watts per square meter. Eye-Protection and extreme caution are required! There is truely nothing new under the sun...here is a link to a 1916 Magazine article on a working solar furnace. "When you're one step ahead of the crowd you're a genius. When you're two steps ahead, you're a crackpot." -- Rabbi Shlomo Riskin (Feb. 1998) |
TEST MOUNTING Sept 2009
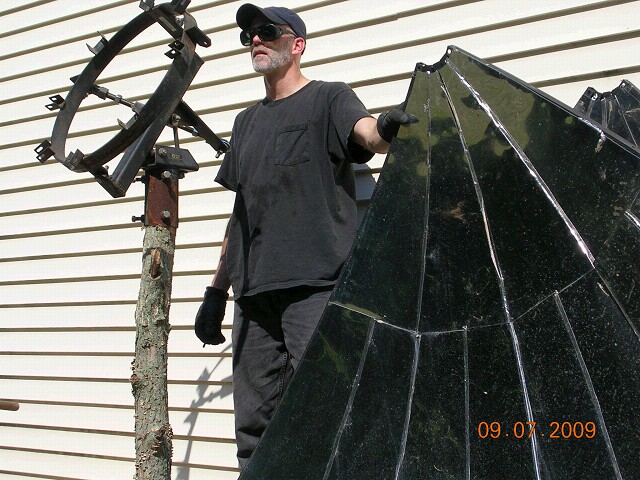
The day began like any other. I spend two hours tuning an electric vehicle and doing some road testing...then moved on to something potentially more exciting. I've wanted to mount that solar dish on the south side of my house to do some trials heating water for heating my house in the winter. But, I needed a 3.5 inch diamter post to mount it on. I thought I'd have to purchase one. But, speed is more important than perfection when doing experiments and I'm learning I can find everything I need quickly and for free if I just open my eyes and let myself be creative. So, I wandered for a few minutes finding myself in the woods behind my house next to a small, dead, oak tree. What a perfectly simple and free post! |
Putting it together
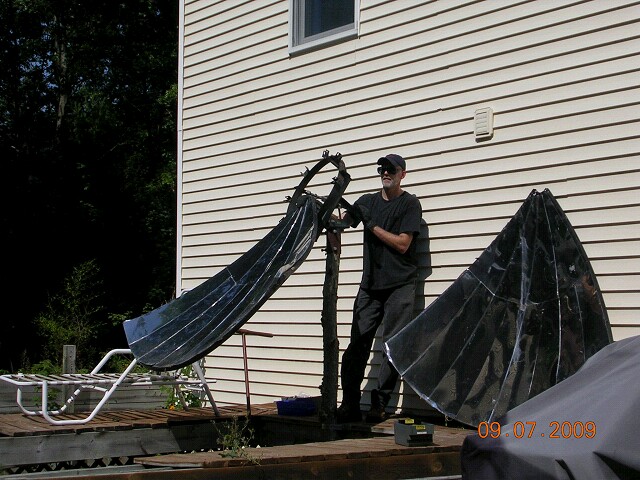
At first, I thought I might assemble the dish on the mount in the air, but that was not the way to do it. |
Mounting it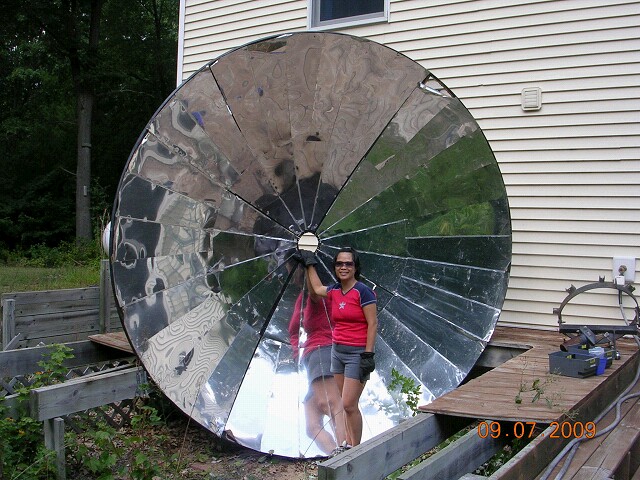
First the dish gets assembled, then you get good looking friends to help lift it into place. |
Using It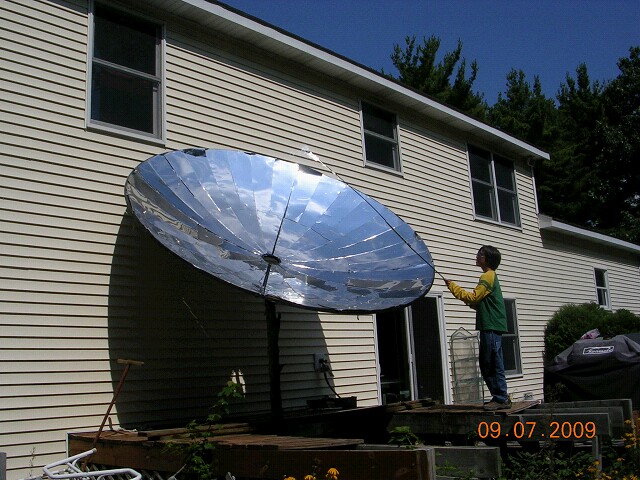
While I was practicing aiming the dish, my son had some fun cooking marshmellows... Here are lessons learned through this experience:
|
ELECTRIFIED BICYCLE 1
Mounting a motor from an electric scooter to a mountain bike this way did not provide enough torque to drive the bike...will need to change the gearing dramatically to make this little motor do the job... |
ELECTRIFIED BICYCLE 2: Lessons Learned
 Here are lessons learned through this experience:
Note the springer fork with the Sparrow hub motor mounted in 20inch wheel on Linear recumbent. Acceleration was slow and top speed was not all that great, mainly because of the 60 pounds of lead acid battery weight. But, as always, it was a smooth comfortable ride.
|
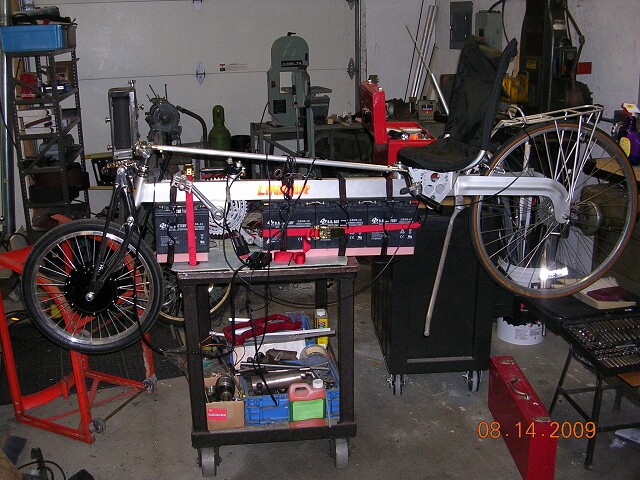
ELECTRIFIED BICYCLE 3 Mockup
This is my second attempt a motorizing a mountain bike. This time I used a hub motor with lots of torque - the Sparrow hub motor from electric rider. In the picture below you can see that I used foam to mockup battery placement. The only reason I was using such heavy and large batteries is because they were free and sitting around in my workshop doing nothing. 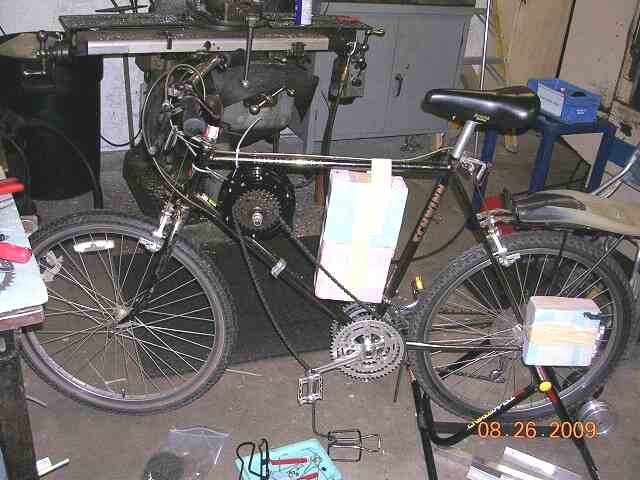
|
|
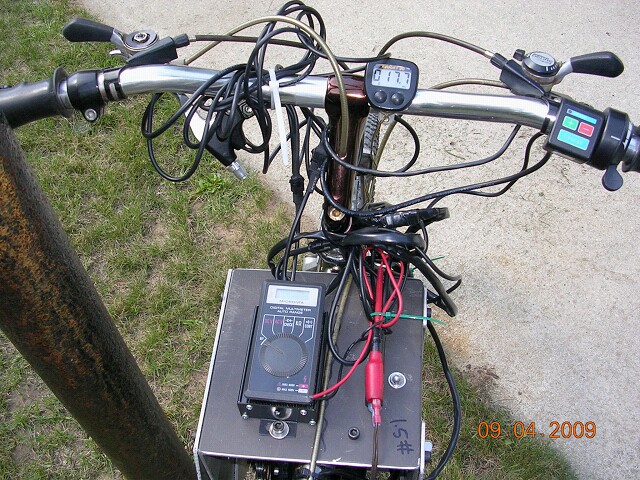
ELECTRIFIED BICYCLE 3 Side Views
This bike setup worked good although it was very heavy. The batteries were 12volt, 20amp hour and weighed 20 pounds each. The motor weighed 12 pounds and the the misc. brackets about 12 pounds. The setup was direct drive to my front chain ring meaning if the motor was running the pedals were turning. This limits the max speed of the bike to the the max geared speed of about 25mph. The motor had plenty of power left and could spin the pedals faster than I could keep up. So, I'd either need taller gearing on the bike or need to setup the motor to drive the rear wheel directly - at this point the hub motor needs to go back into the wheel. At 20-21mph the motor was drawing 18 amps x 48 volts = 864 watts. At 25mph the motor was drawing 27-30 amps x 48 volts = 1440 watts. 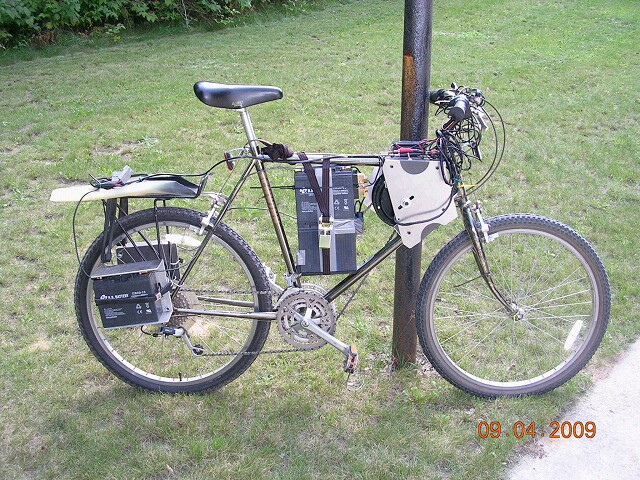 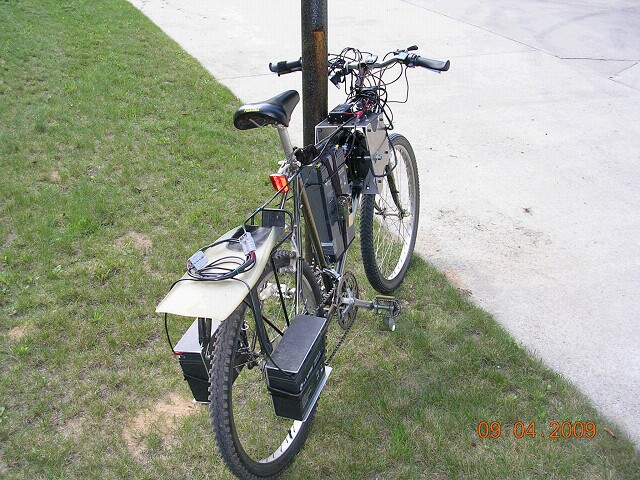 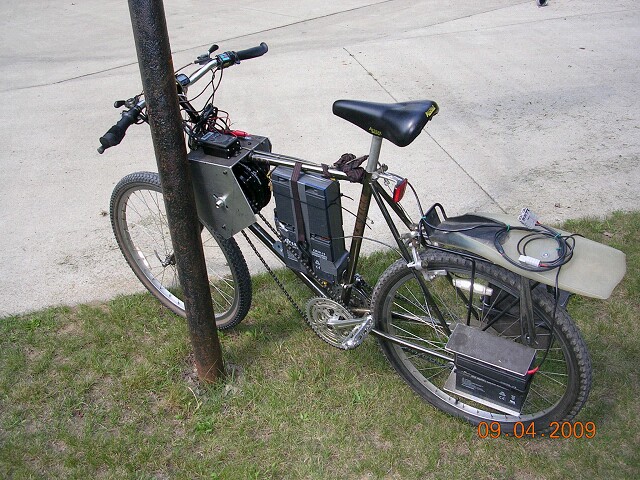 |
ELECTRIFIED BICYCLE 3 Lessons Learned
 Here are lessons learned through this experience:
|
TREBUCHET RELEASE MECHANISMS
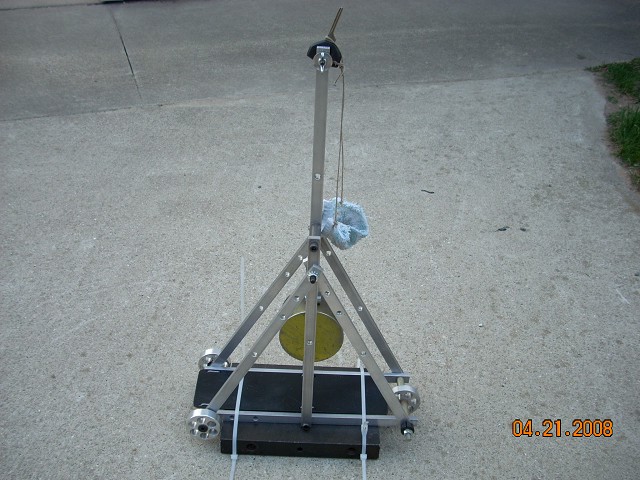
For Cubscouts, I had our pack at the shop so each boy could build a desktop-size-trebuchet using strips of aluminum for the frame. It was an engineering project teaching the kids about bridge truss design and about various metal working processes (we made parts on the lathe, mill, cut-off saw, and even had the CNC engrave their names on the side of the trebuchet...). |
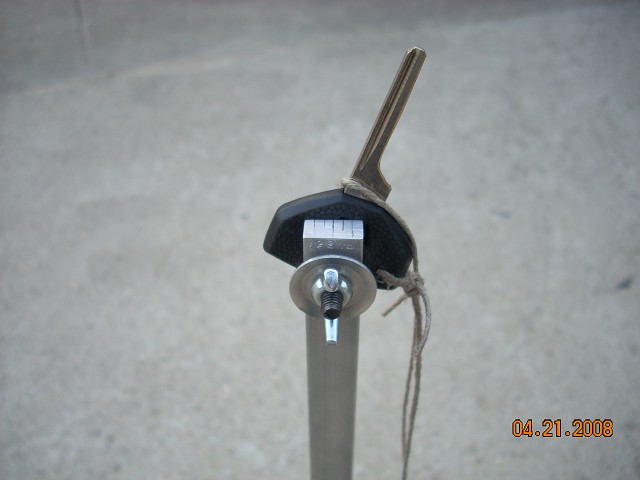
The secret to a trebuchet is an adjustable release mechanism. A rubber coated automobile key blank works great. Drill a hole in the key to hold one end of the sling and attach it to the trebuchet with an 8-32 screw and wing nut. Adjusting the angle of the key drastically affects the trajectory of the object being tossed. A different angle is required for projectiles of different masses. This makes a great platform for teaching kids how to conduct an experiment. It's fun, and it is easy to change the variables affecting flight distance. |
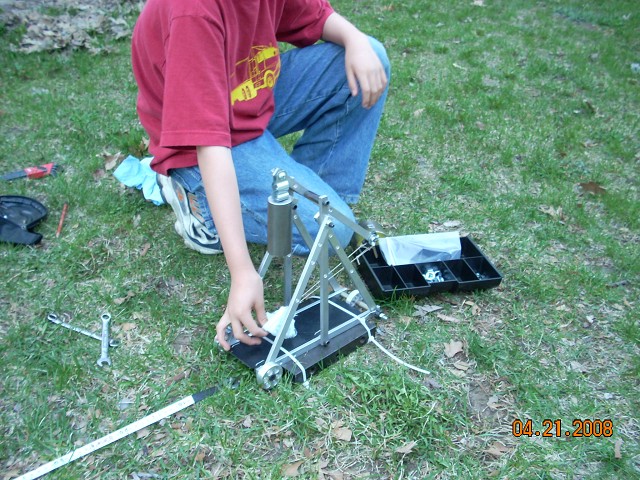
For a school science project, one of my boys did experiments with various mass counterweights, projectiles and release mechanism angles. Using a 4lb 2oz counterweight, 7/16-14 steel hex nuts were easily thrown over 10 meters (10 meters to touch down, they rolled a lot farther than that!). We found another important variable when conducting the experiment. The release height of the projectile. For some reason, if the projectile is held up away from the ground when released, the distance of the toss is greatly improved. Notice that a heavy piece of steel was wired tied to the trebuchet to hold it in place while doing the experiments... |